Underwater Watercolours with Ochre Part 2
Now that the beautiful watercolours you made with Ochre last time are dry, we are going to add some more detail and cut them out. This part can be tricky, so take as much time as you need!
Once our underwater watercolour designs are complete, you can stick them up in your bathroom to make it feel like you’re in an aquarium every time you take a shower.
Ceramic Coil Pots with Is
Let’s learn how to make a flowerpot out of clay coils!
In part 1 of this tutorial, Is takes us through the steps of rolling ‘sausages’ out of clay, coiling them into your desired pot shape, smoodging the clay so no cracks appear, and pinching the pot walls into the right thickness.
These are great foundational ceramic techniques that you can use for a lot of different projects.
Contact Saadia in the Aeon front office if you would like us to deliver you some clay you can use to make these super cute pots!
Part 2 – decorating the pots using the “sgraffito” technique – coming soon.
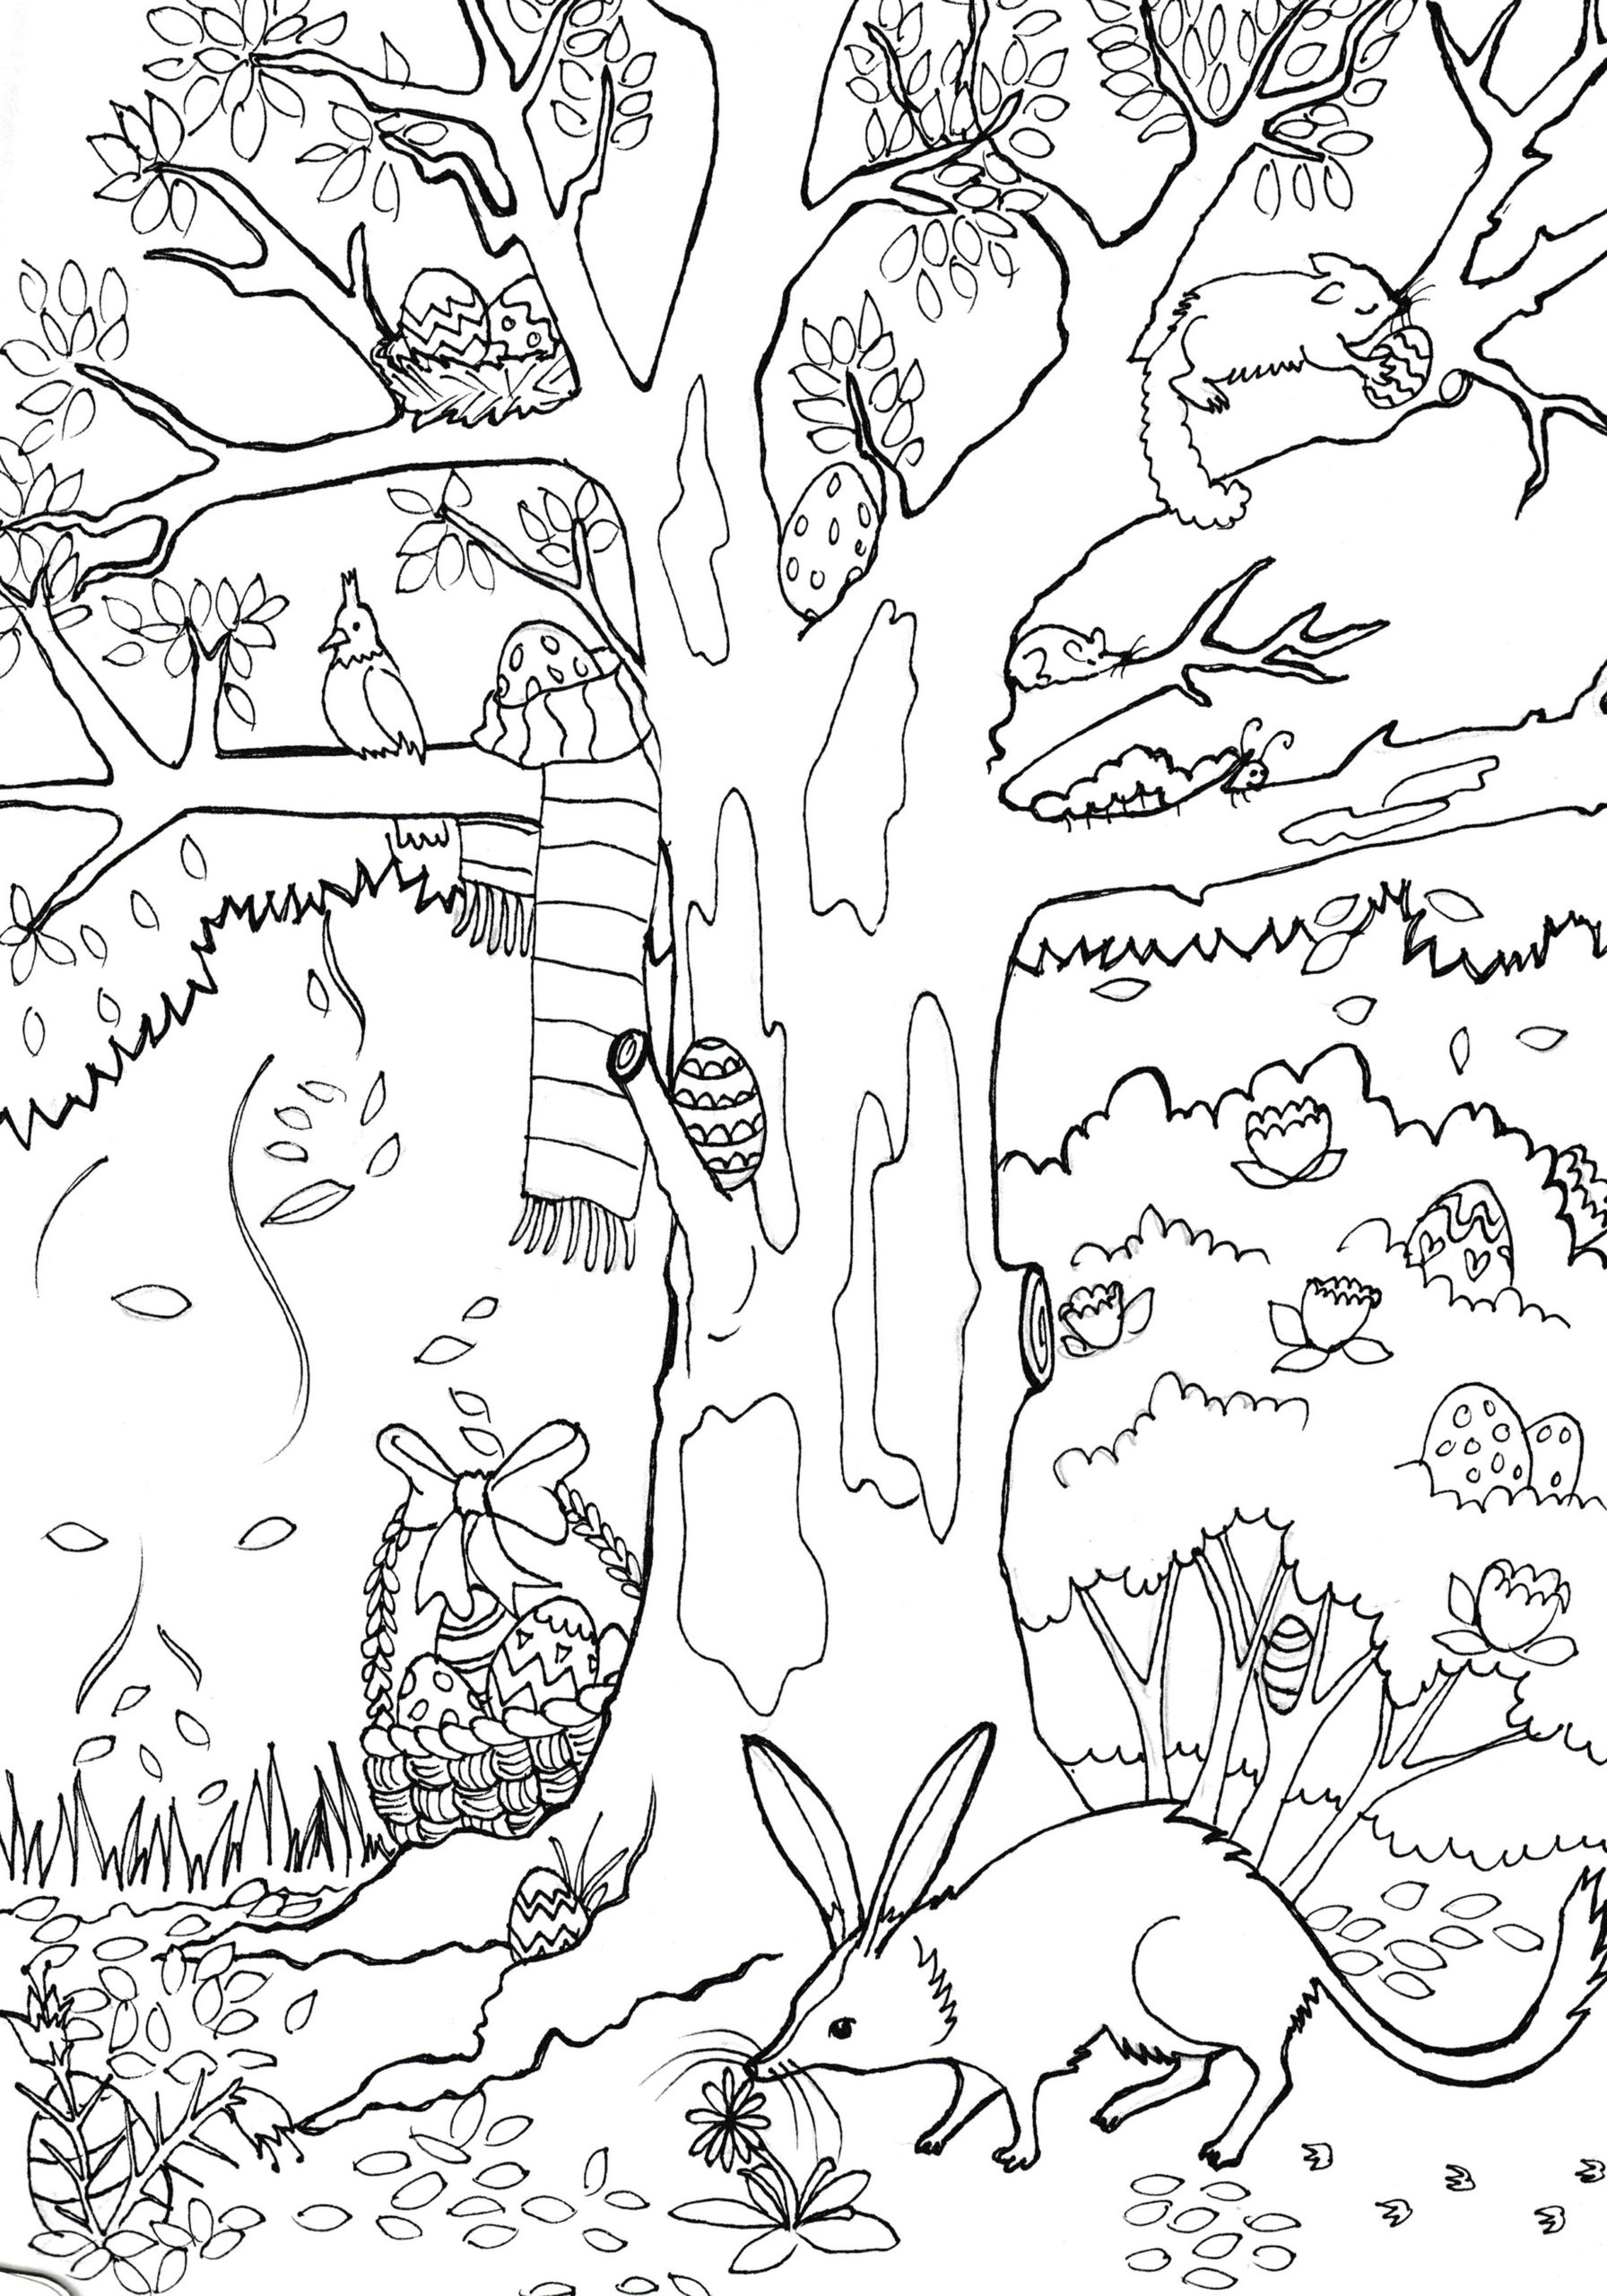
Easter Bilby Colouring-In Challenge

Download and print this Aussie-inspired Easter colouring-in challenge. A great option for rainy days. How many Australian native animals can you find?
Underwater Watercolours with Ochre
In this tutorial Ochre demonstrates two watercolour techniques, the salt technique and straw blowing technique, that you can use to create a stunning underwater scene for your bathroom (or anywhere!)
If you would like to follow along with Ochre as she paints, get ready with the following materials:
Watercolour paints and paintbrushes
Paper to paint
A jar of water
Some newspaper to protect your table
Ordinary table salt
A straw (if you don’t have one on hand, you can make one using some stiffish card or paper and some tape).
